How to set up an Xbox One
First things first ..
So, you're the proud new owner of an Xbox One, eh? That's fantastic! We're sure you've done your "new toys" jig and gotten your whiff of the new box smell already. Now it's time to get down to business.
If you're having trouble figuring out how to set your Xbox One up, we're here to help. Let's get going.
Hooking up the Xbox One hardware
We're going to start with hooking your hardware up because you won't be playing anything if you don't do this properly. Be sure to read through all of the following sections to ensure you've covered everything
Find a home for your Xbox One
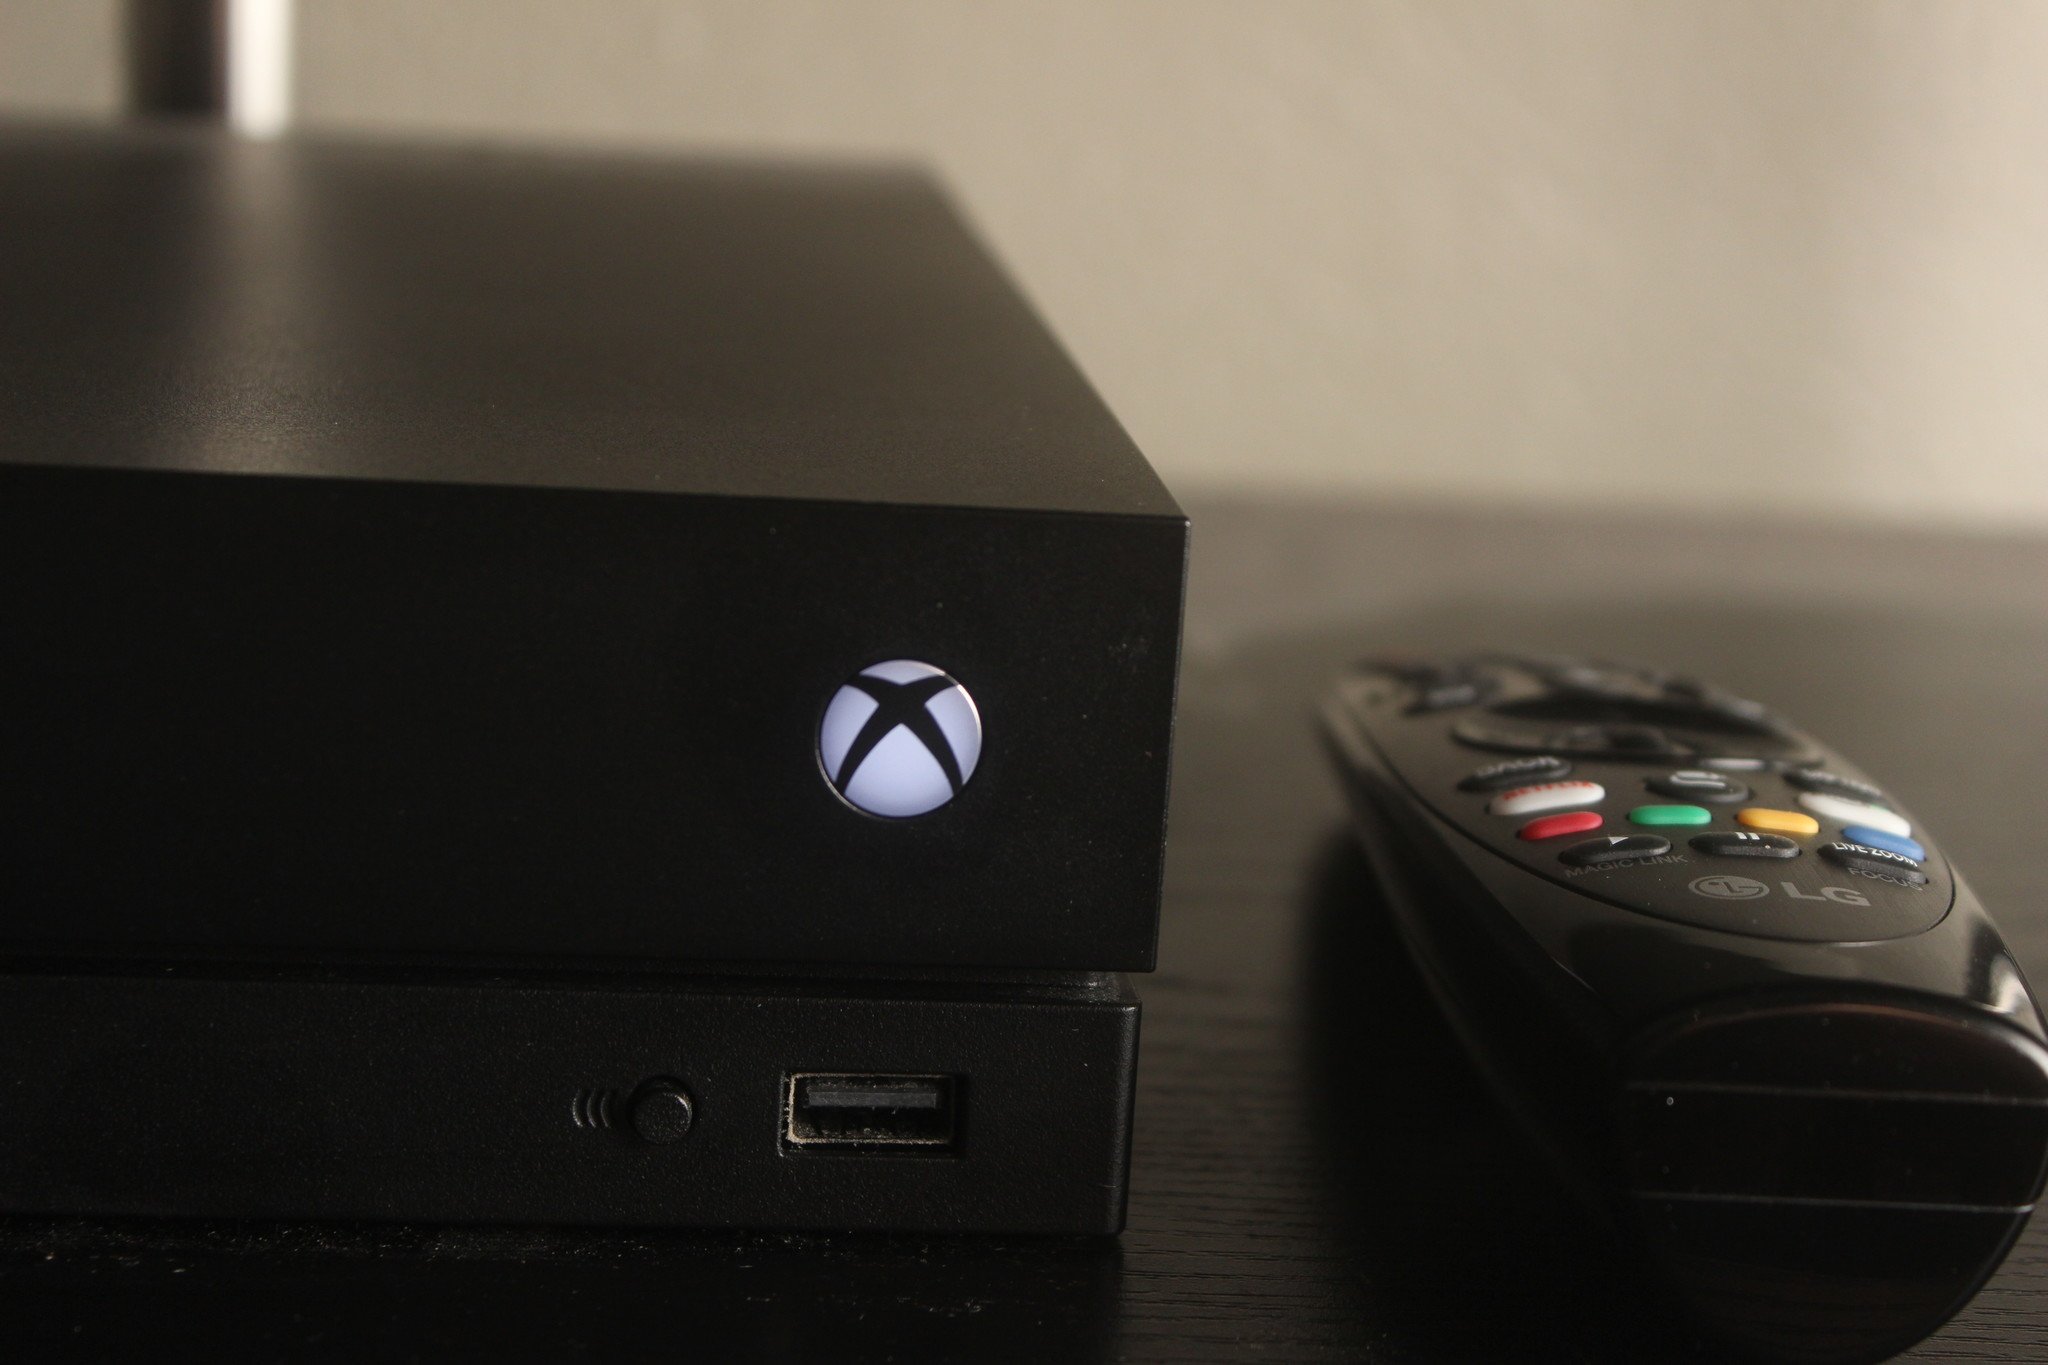
Before we get to actually playing with the system, you'll first want to figure out where to put it. It's important that you place and position the Xbox One properly to ensure it's running as smoothly and safely as it can.
You can set it up either horizontally in its natural resting position, or vertically with the help of the included vertical stand. Whichever you prefer, just make sure it has enough headroom and proper ventilation. It can go into a cubby on your entertainment stand but make sure there's enough room on the sides, back, and top to ensure the heat doesn't blow itself back onto your Xbox. If that cubby has a door, you'll probably want to keep it open while you're using it.
Don't put anything on top of the Xbox as there are top-facing vents it needs to help push all that heat out. It's also probably not a good idea to set it on carpet.
The latest updates, reviews and unmissable series to watch and more!
Plug it in
The next step is to get the hardware all hooked up and connected to power. At the bare minimum, all you'll need to do is connect the power cable to the Xbox and plug it into a free power outlet in your home. It's important that you connect it to a wall outlet and not a surge protector because the Xbox One comes with one built in and you risk damaging your hardware if you do. Take it from someone whose original Xbox One died on him during one such surge - plug it into the wall .
Connect it to your TV
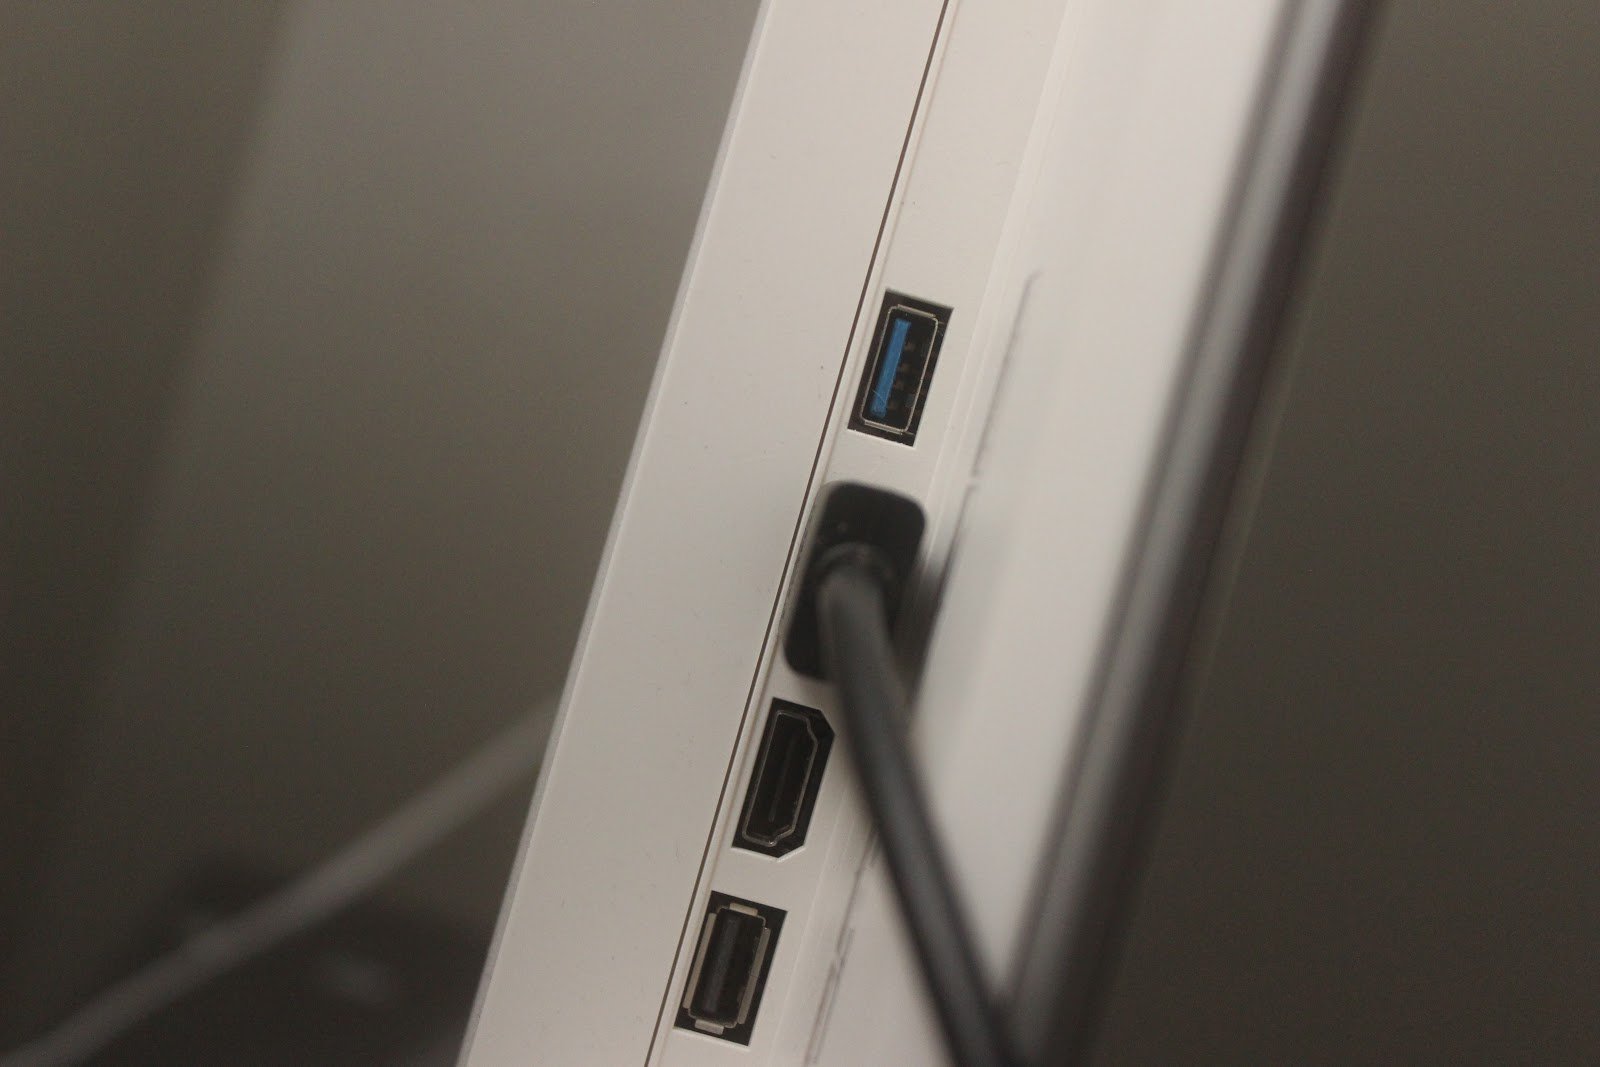
At this time, you'll also want to plug in your HDMI cable. Make sure to plug your HDMI cable into the HDMI OUT port on the back of your Xbox One and not HDMI IN. Plug the other end of the HDMI cable into an available HDMI port on your TV.
Note: If you're using a 4K TV with the Xbox One S or Xbox One X, you'll want to take extra care to plug the HDMI cable into the proper ports. Some TV sets only allow a 60Hz 4K signal on *one of its ports. And if you're planning on gaming or watching content on an HDR set, make sure you plug it into the port on your TV that supports HDR. Again, it's commonplace for TVs to support HDR on only one of its inputs. You should also use the HDMI cable that came with your Xbox One or ensure you're using an HDMI 2.0a cable, as these are the only ones which properly support 4K HDR.*
Connect the extras
If you want to watch cable or satellite TV through your Xbox, now is a good time to plug your set-top box's HDMI cable into the HDMI IN port on your Xbox.
Planning on connecting to Xbox Live using an ethernet cable? Connect that cable to the ethernet port on the back of the Xbox One and plug the other end into an available ethernet port on your modem or router. Skip this step if you're planning on using WiFi instead.
Those who want to use the Xbox One with a home stereo system can go ahead and plug their optical audio cable into the rear of the Xbox One at this time, with the other end going into an available port in your audio system.
Finally, if you have any external hard drives to plug into the console's USB 3.0 ports, now's the time to do that.
Turn it on
Put the included AA batteries into your controller at this time, because that's what you'll be using the rest of the way. Change your TV's input to the port where the Xbox One is connected, press the power button on the console and on your controller, and watch the glorious first boot up.
Setting up the Xbox One software
The hardware was, well, the hard part. With the Xbox One all juiced up and ready to go, the next step is to go through and set up the software. This process is very simple thanks to Microsoft's quick and easy setup wizard.
This'll involve creating your profile, setting the time and date on your console, connecting to your WiFi network (if applicable), and other important bits it needs to initialize. The first thing you'll need to do, though, is press the 'A' button on your controller.
Choose your language
First things first, tell the Xbox which language you speak. If it's English, highlight English, and so forth. Press 'A' once you've made your selection. Next, you may be asked to select your exact variety of the language you selected. Choose the one that best fits your dialect.
Connect to your network
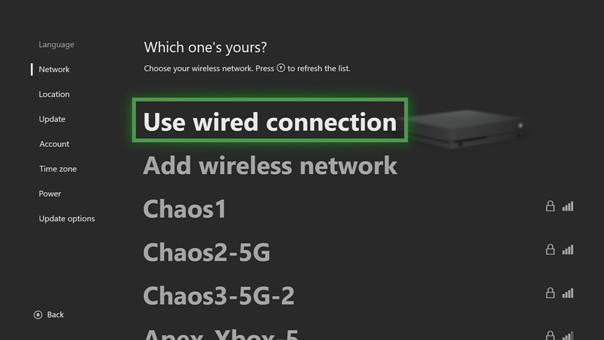
It's time to decide how you're going to connect to Xbox Live. If you're using ethernet, simply choose "Use wired connection."
For wireless users, find the name of your wireless network in the list and select it. Enter your password if the network is protected. You can also add your wireless network manually if you've decided to hide your SSID (your network name). If you go this route, you'll need to know your exact SSID, security type, and password. You can move on to the next step once you're connected.
Select your location
Now you'll need to tell the Xbox which country you live in. It's imperative that you're accurate here because it ensures that you'll only see content on the Xbox store that is available in your region. By the way, The country you select doesn't affect the language you've chosen.
Update your Xbox One
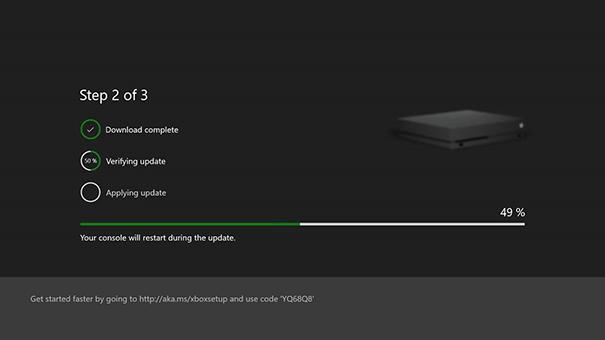
It's time to update! That's a phrase you're going to get used to as time goes on. Anyway, you have to do your first update here. It's a requirement for using your console, so you'll either have to accept the update now or decide to turn your Xbox off.
Use your discretion here: if you would prefer to be on a different network when downloading the update for whatever reason, then simply turn the Xbox off. Don't fret about losing your progress, though, because the setup process will pick right back up where you left off.
The update process will begin, and you'll get to follow it the entire way from download to installation. It's also at this time that Microsoft will prompt you to start setting up your Xbox Live account on your iOS or Android device.
Set up your Xbox Live Gamertag
Microsoft will give you a link that takes you to the Xbox Live website. This step is optional as you can also go through the account setup process on the console once the update is finished.
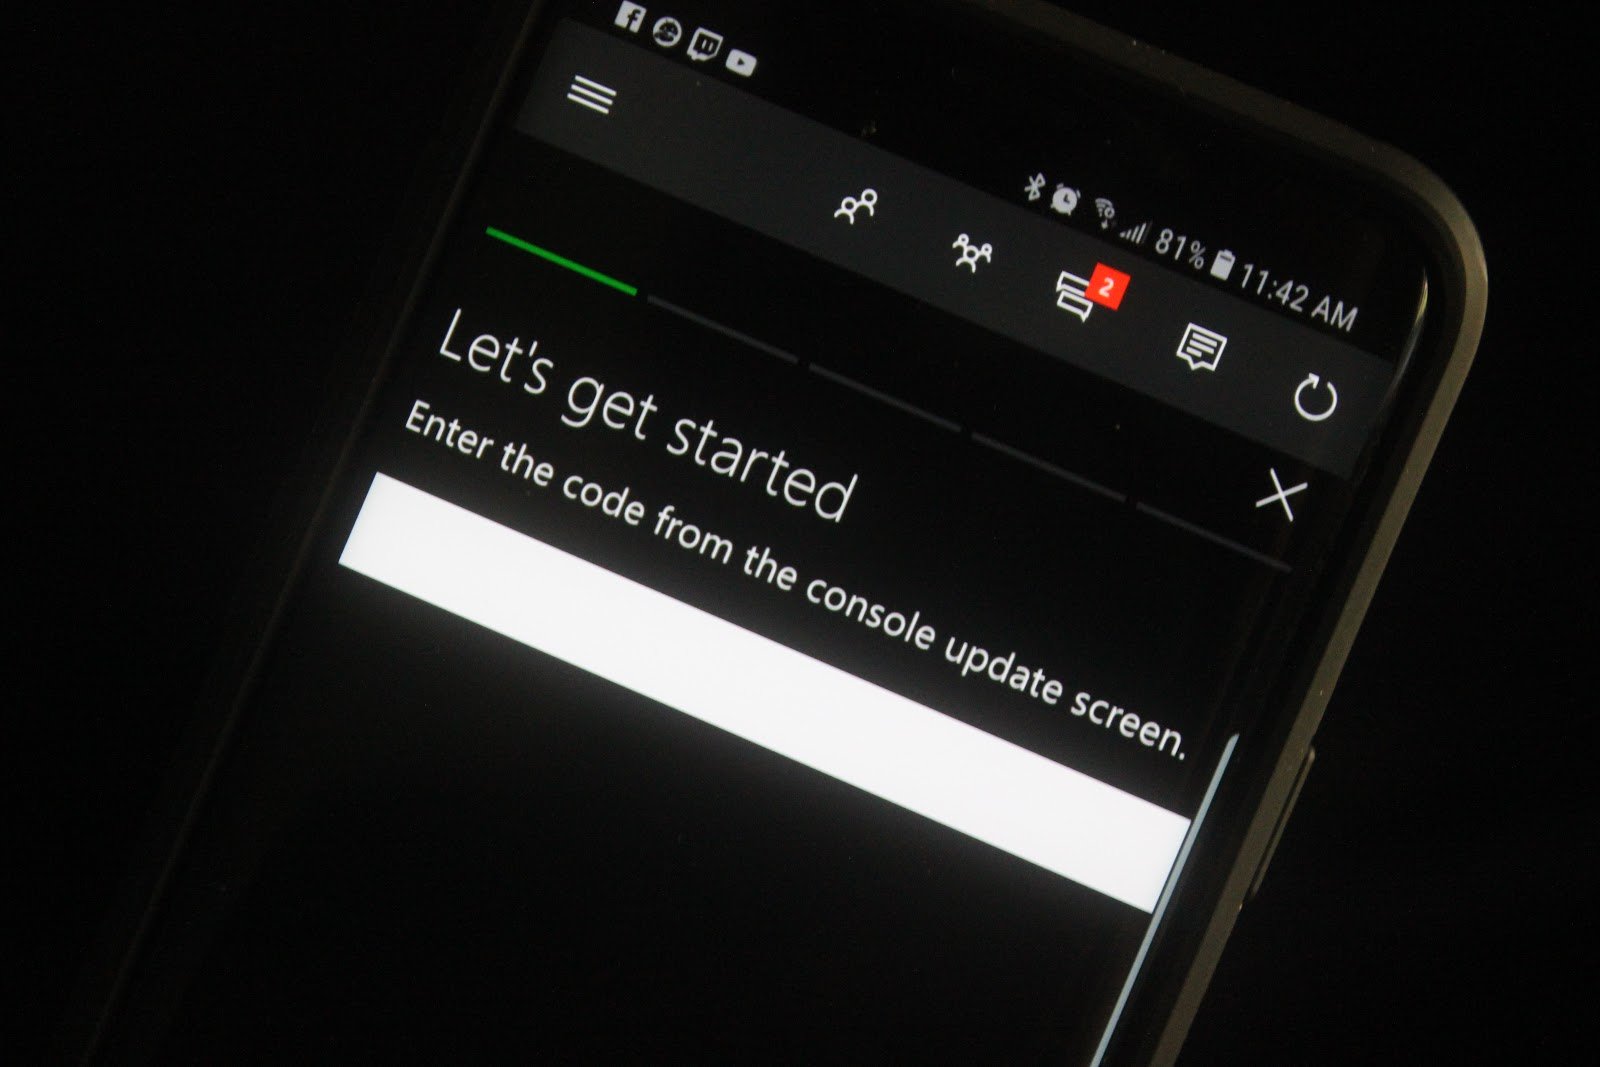
If you decide to go through with the setup on iOS or Android, the link will take you to the Appstore on iOS or Google Play on Android to download the Xbox app. Install it. Once installed, you'll be asked to input the code shown on your screen and then be whisked through an account creation wizard. Here, you'll need to either set up a new Microsoft account or sign in with an existing one.
After you've made your account and signed in, it's time to make your Gamertag. Choose your 15-character name, customize your avatar and gamer picture, and set your preferred color. This color will show as highlights all throughout the system, so make sure you're happy with it. You'll get a final preview to see how your profile will appear to others on Xbox Live.
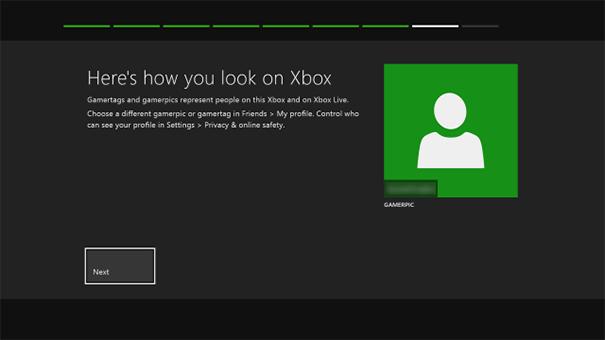
Once you're all done, the settings will be transferred to your Xbox One as long as your phone and the console are on the same network.
Everything above applies to those who decide to go through with it on the console after the update is done. Either sign in with your existing Microsoft account or create a new one and then go through the process of setting up your Gamertag.
Finish Up
We're almost there. There are just a few more settings and preferences to set before you can get to your Xbox dashboard. First, Set your time zone and whether you want your Xbox to recognize daylight savings time.
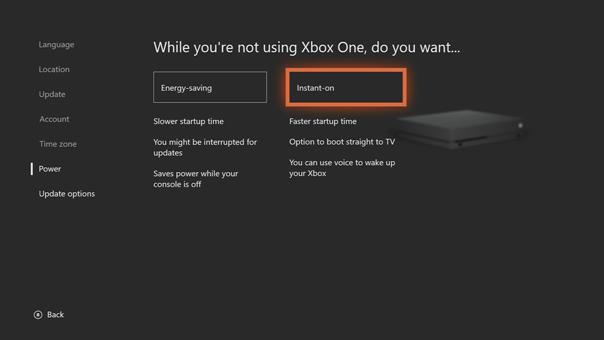
Next, select your power mode. 'Energy-saving' means your Xbox shuts down completely when you power it off, but this comes with the caveat that you won't be able to accept updates while it's off. 'Instant-on' is the standby mode, so updates can be downloaded automatically while your system is in a low-power state. It also lets the Xbox One turn on much faster. Select whichever you prefer.
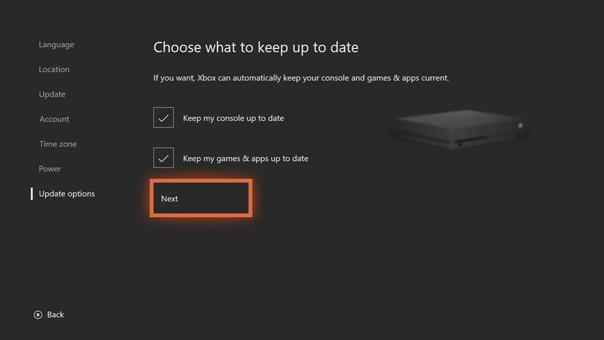
Lastly, set your options for automatic updates. You can choose differently for your games and apps and for your console. If you choose to opt out of automatic updates for either one then your Xbox One will only attempt to update them when you tell it to.
Enjoy your Xbox One!
Phew, that was a lot to go through, but you're finally done. There's just one last thing you need to do: explore all that the Xbox One has to offer!


